Log InCartCall Now: (616) 667-7297

Blog » Mixed Breed Grooming

How to Brighten a Dogs Coat Using a Staple Pantry Item

Today, we have a wide assortment of products to make our grooming jobs easier. They give us better results and may even help us do the job faster. It could be anything from a shampoo, to a coat conditioner. It might be a magical spray or powder you apply to the coat. Take a look at any grooming catalog and you’ll find a vast array of items from a variety of manufacturers that can take care of just about anything you could need.
But how do you know exactly what to reach for when a unique situation presents itself? Sometimes you don’t always know what you need. Or maybe what you need is a specialty item and you don’t have it at your fingertips. What do you do then?

Smart groomers and stylists often turn to home remedies. Years before we had the variety of products we do today, most clever groomers turned to their own cabinets for solutions. They used their ingenuity and developed home remedies to solve their grooming dilemmas.

Recently on the Learn2GroomDogs.com set, we had an unusual situation. Luckily, we had the masters of home remedies in for a filming weekend, Lisa Leady and Suesan Watson. (If you haven’t caught their L2GD lesson on home remedies – click here! Not only is it educational, the sister duo missed their true calling as a comedy routine!)

All of the dogs for that filming weekend were dogs that were supplied to us, sight unseen. We’d simply made the request for eight dogs.

The criteria was:

  1. They needed enough fur so that Lisa and Sue could actually groom them.
  2. The dogs needed reasonably nice temperaments.

That’s it.

While we were at lunch, the dogs were checked in. Our team had placed them in a holding area to await their afternoon film session. When we returned, we were excited to see what was we had to film. I knew all our afternoon dogs were mixed breeds that had come from a large 300+ dog puppy mill rescue that took place a few years ago. Luckily, all of the dogs found loving homes. The family supplying the dogs for the Learn2Groom film shoot had adopted three of the puppies. Many of the rescued pets were Shih Tzus, Pomeranians, Malteses, or mixes of the three breeds.
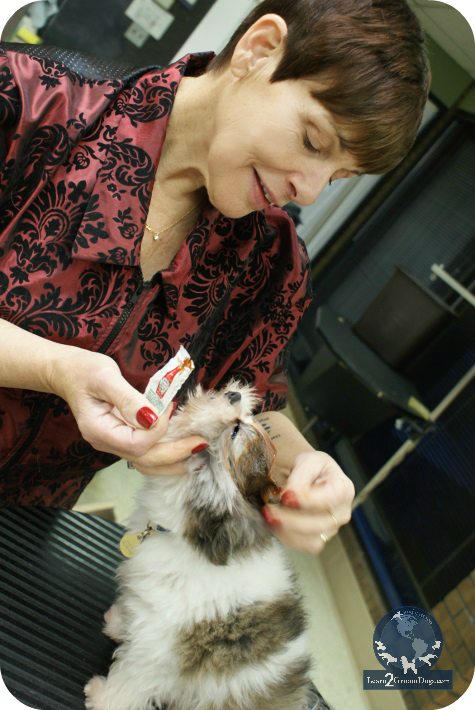
When we walked into the kennel room at the Paragon School of Pet Grooming, we were so excited. Every dog was adorable! But one really stood out – a Pomeranian/Shih Tzu mix. It had plenty of coat that brought out a few key features, making him even more appealing. But it did have a problem – and it was smack dab on the top of his head: a huge, rusty-colored lick stain.

If you’ve been in this profession for any amount of time, you know exactly what we were looking at. Apparently, one of his four-legged siblings had taken to cleaning the top of his head on a frequent basis. The constant licking had turned the white fur a rusty red color. He also had a fair amount of rust staining near his eyes and around his mouth.

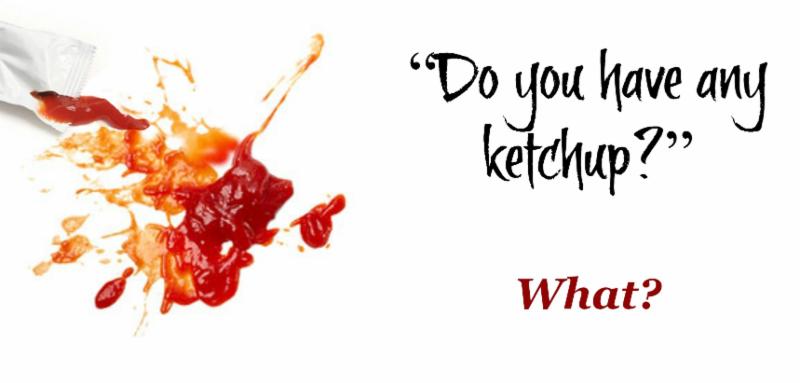
Sue immediately reached for this little cutie. As she was snuggling with him she looked me right in the eyes and said, “Do you have any ketchup?”

What?

Why did Sue want ketchup?? Even though I hadn’t said a word, my expression must have asked the question.

Sue quickly went on to explain that ketchup would lighten the stain on the top of the dog’s head. “Really?” I exclaimed. I didn’t bother to question her – I knew she had something good up her sleeve. Sue said it didn’t matter what brand of ketchup we chose – any ketchup would work. I quickly went and found a couple packets of ketchup in the kitchen and handed them to her.

We took the dog out onto the practical skills floor and set him on a grooming table. Sue simply opened a package of ketchup and started to apply it to the dry coat. She generously worked it into the top of his head, under his eyes, and on his muzzle area. Once the ketchup had thoroughly saturated the hair, we set this little guy aside to sit for about 30 minutes before bathing him.

I was amazed after Sue bathed and dried this little dog. The rust-colored staining was significantly lighter! Was it gone altogether? No. But it was considerably lighter on the top of his head. Around his eyes and on his muzzle area it was almost totally removed.

I was astounded.
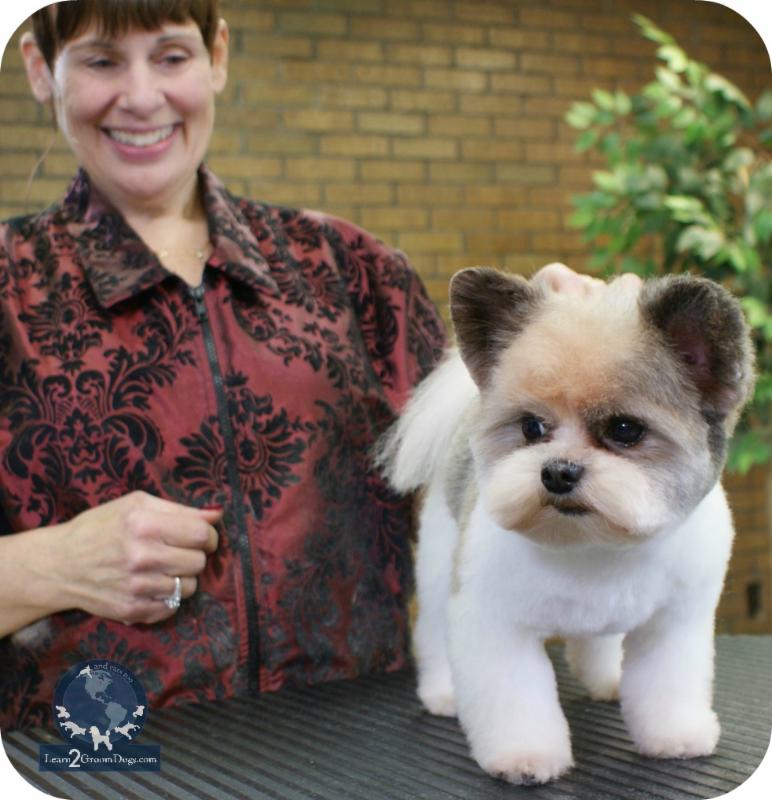
Sue suggested that we do a couple more applications in the future to really lighten the top of his head.

After seeing what a single application of ketchup (yes ketchup!) had done to brighten this dog’s coat, there was no doubt in my mind that a few more applications would lighten the stain even further.

I love home remedies when it comes to grooming. These problem-solvers are made from items that you just naturally have on hand. Many times they are common pantry items that all of us have hidden away in drawers or cupboards.

Who knew you could use ketchup to lighten and brighten the coat? It was a new one for me.

Watch for Suesan Watson in an upcoming Learn2GroomDogs.com video lesson featuring this adorable little Pomeranian/Shih Tzu mix.  Join today!

Happy Trimming!

~ Melissa

P.S.

Do you have any tricks like this one? Tell us about them on the Learn2GroomDogs Facebook page.


Creating the Round Head with a Clipper – Drop Coated Head Styling

1rrThere are a number of different ways to create a round head style on a dog.

Here are two clipper options that will help you be more consistent from trim to trim.

Setting the Pattern

Use this hold to define sections of the head that are to be clipped or to be hand scissored:

2rrStanding in front of the dog, place your hands just behind the eyes so both thumbs touch under the jaw and both first fingers touch just above the eyes.

  • Anything behind your hands is considered the skull and should be clipped.
  • Anything in front of your fingers is considered the eye area and muzzle and should be shaped by hand.

3rrUsing a similar hold, place your fingers around the neck of the dog.  Slide your hands up until they rest at the base of the ears.  This is your dividing line between the neck and headpiece.

The length will vary based on client preference and length of body coat.  The shorter the body length, the shorter the head should be.  Longer trims look balanced with longer head styles as long as they are not extreme.  In both cases, it’s most important that the head be in balance with the body.

Style Option #1:

  • Take the same blade used to trim the body and use it again for the top of the head and down the sides of the cheeks.
  • If a #4F, #5F, #7F or #2 guard was used on the body, follow the natural lay of the coat, working out from the center of the skull.
  • Feather the coat over the tops of the ears and at the transition line just behind the eyes separating the head with the muzzle area.  There will be an imaginary line just behind the eyes where you can feel the eye socket rims.  The hair over the eyes in this area should be left to hand scissor, framing the eyes in the final stages of the trim.
  • Lift the ears out of the way and come down the sides of the face, in the cheek/jowl area.  Follow the lay of the coat and blend into the clipped neck. Leave just enough hair at the back corners of the eyes to complete the framework for the eyes in the finished trim.

Style Option #2

  • Use a medium to medium-long guard comb for small – to medium-sized pets; longer combs can be used on larger dogs.  The key is the head should ‘balance’ the trim and compliment the dog in size and shape.
  • Due to the length of coat these combs leave, they are most effective when pulled forward from the occiput to the eye area.  Your goal is to feather to coat at the transition point, softly framing the eyes.  The outer edge of the guard comb should ride right at the junction point of where the ear meets the skull.
  • The cheeks and jowl areas are handled the same way as outlined above.

Common Styling Techniques with Both Round Head Styles

The stop area should be trimmed for both options.  Personally, I like to catch this area when I do my close sanitation work just before I do the full haircut.  Don’t remove too much coat between the eyes – less will be better than more.  Focus on the area just in front of the eyes and the stop area.  Use thinning shears or clip the area with a close blade, such as a #10 or a #15.  This will clear the area of long fur and accentuate a nice, deep-set eye.

With both head styles, the framed area over the eyes should be scissored by hand.  Comb the coat forward over the eyes, making sure to get the hair in the stop area, too.

Scissor off the longer hair at a 45-degree angle, starting at the stop area.  The fur will be super short right above the eye and taper out slightly over the eye, framing it.

Use straight or curved shears in reverse, framing the eyes trimming up and over the eyes.  The beveled edge creates a ledge for the longer coat to sit on, keeping it out of the eyes.  It also creates a desirable “soft expression.”  A deep-set eye adds dignity and character to the facial expression, too.  There should be just enough depth to this frame to accomplish the look, but not so much as to give a heavy “visor” look.

Double-check and triple check this line framing the eyes.  It is the most important part of the entire trim.  Pay close attention to the stop area – this is an area that long strays love to hide.  The last thing you want is to have random hairs pop out once the dog gets home!

4rrOnce you are satisfied that the frame is even, the line will still be sharp.  Soften the framed area with thinning shears.

Double-check the line just behind the eyes where the clipper work feathers off.  It should be smooth and even at the transition point.

Check the transition lines over and around the ears and neck.  Use thinning shears to neaten these areas.  Make sure to look behind and under the ears too.  Follow the line under the jaw, too.  Everything should be even, neat and tidy.

The muzzle on many round head styles is trimmed by hand, keeping the eyes and nose at the center.  However, there are multiple style options.  Many stylists like to continue their longer guard comb work on the muzzle as well.  Or you can scissor it by hand.

When using a guard come on the muzzle, you can work either with the grain of the coat or against the coat growth with longer combs.  Once you are close to a consistent length – stop and finish the area by hand with thinner or blending shears.

For hand scissoring the muzzle coat, comb the coat down.  Use the jawbone as your guide.  Trim parallel to the jawbone adjusting the length as needed.  Once the length is established, finish trimming the area with thinning shears for a soft and even look.

Many owners appreciate removing the longer hair right under the nose, at the end of the muzzle.  On round-headed dogs, this is extra fur that gets messy at feeding time – collecting water and picking up all sorts of nasty things as the dog is outdoors sniffing around.  There are two basic ways to deal with this area:

  1. Simply hold the dog’s mouth firmly closed and quickly remove the extra hair with a close blade – anything from a #30 #15 or #10 blade will work.  Just watch that tongue!
  2. Hand scissoring works, too.  Use either thinners or a smaller pair of shears to trim the hair away from this area.  Comb the coat forward at the end of the muzzle.  Trim off the excess.  You can also taper the area back towards the neck.  This will help prevent dirt and debris from collecting in this area and provide a neat and tidy appearance to the overall head.

To finish the head style, soften all lines with thinning or blending shears.  Look for stray hair or anything that is out of place.  There should be no sharp lines anywhere on the head.  From side-to-side you are looking for symmetry, both in length and density.

In the end, the expression should be soft and kind.   The eyes will be the key feature you want to highlight.  Framing the eyes, you bring out the pet’s expression – something every pet owner loves to see!

 If you liked this lesson, you’ll love this video.  You’ll find it on Learn2GroomDogs.com.

[youtube]http://youtu.be/NzLWtaBFAoc[/youtube]

Not a member?  It’s easy to join – click here!

Happy trimming!

~Melissa


Rating Dog Personalities

blogrYou have a new client on the books. It’s a Lhasa/Maltese mix – or in the new world of designer dogs, it’s a “Lhatese.” The client arrives precisely 15 minutes late. She’s dressed to the nines and everything matches… even the dog.

The dog’s name? You guessed it…

…Precious.

You know you’re in trouble.

If you’re a one groomer salon, you can keep the personalities of all your canine clients in your head. You know any dog named Precious is far from… precious.

But what if you start expanding your salon? What if you bring on a new bather? Or maybe you have an assistant handling your appointments? Or maybe you have an inexperienced groomer joining your team.?

Wouldn’t it be helpful to know the personality rating of the dogs scheduled for the day?

Here’s a rating system that I’ve been using for years in my salons. It’s been extremely helpful in many ways:

  • It allows us to clearly evaluate the personalities of our canine clients.
  • it opens up communication with our customers.
  • it allows us to assign more challenging pets to the appropriate groomer.
  • the groomer clearly knows s/he will need to be on high alert with certain pets.

This is how I rate dogs. Simply put, we rate them one through five. It’s worked exceptionally well for years.

Our bathers, groomers, stylists, and students know what to expect from the pet. Even our clients know our rating system. It allows us to have an open conversation with them about their pet’s attitude towards grooming. Many customers are even anxious to see the paperwork to see if there dog has progressed to a more positive level.

Melissa’s Pet Personality Rating System:

  1. The Perfect Angel – This is the dog you love to see. It’s 100% cooperative with the entire grooming process.
  2. The Dancer – This dog is not aggressive but it does not hold still. You’re constantly working on a moving target.
  3. Easily Irritated – This dog will bite if you do something that it does not care for: trimming toenails, cleaning ears, dematting, high velocity drying. This dog might need to be muzzled for things they dislike. They generally respond well to an experienced pet professional.
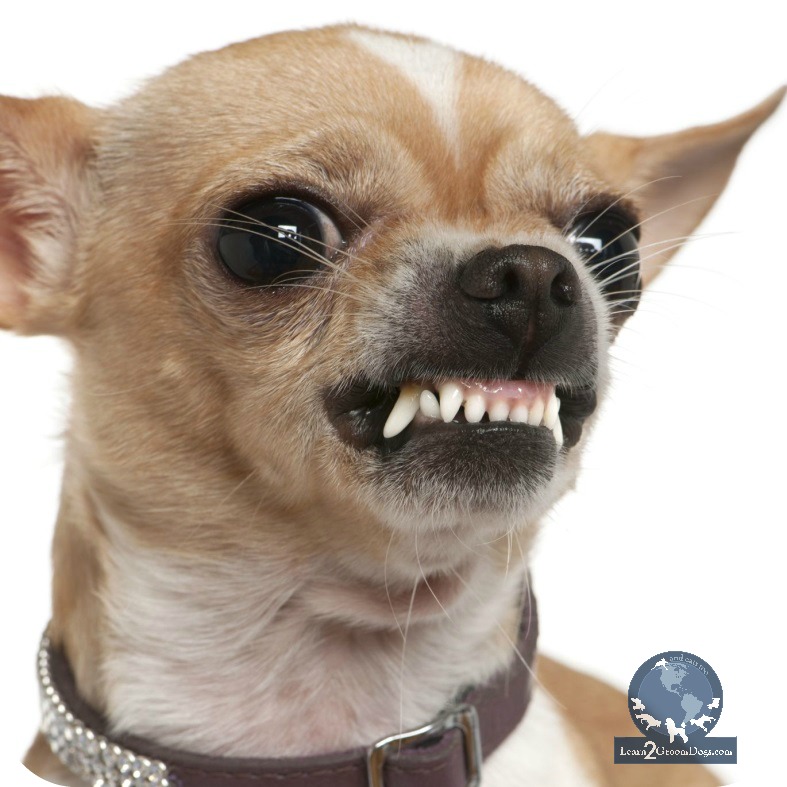
  4. Angry – This is a dog that does not like the grooming process. One. Bit. You cannot trust them. Typically, they can be done safely if handled by an experienced professional. That person needs to be confident when dealing with an aggressive dog. They need to be authoritative and respectful of the pet while balancing firm but gentle handling techniques. Most dogs that fall in this category require muzzling.
  5. Unsafe – This is a dog whose eyes will glow red or green. Is extremely dangerous for most pet professionals to deal with safely. There is no question that given the opportunity, they will bite and/or attack. The dog or the groomer is at a very high risk of being injured. Personally, this is a dog I would fire. I would refer to a facility that could provide a mild sedative – under veterinary supervision – to take the edge off the grooming process.

By using this rating system, we have a clear way to rate the personalities of all the pets that come through our grooming doors. Using the system also means I can communicate with my team, my teams can communicate with each other, and we can openly communicate with our customers.

This time-tested system has worked fabulously for my team. I hope it will work well for your team, too. Now, next time “Precious” comes striding through your door, you’ll know what to do!

Happy trimming!

~Melissa

click-here


The Jennifer Hecker Story

Bouvier HugrIt was May, 1996. Star pupil Jennifer Hecker was three days away from graduating from grooming school and I was still very much a hands-on Director of The Paragon School of Pet Grooming.

I remember walking into the lobby during check-in. The front staff was just greeting a new client with a very large Bouvier des Flandres. I looked at the dog and immediately sensed something was off. The dog came in willingly enough, but its body language and eyes were telling me to be very, very careful with this dog.

Once the owner was gone, I told the front staff to attach the dog to a wall tether. I sensed we could have a real problem if we tried to place that dog in a kennel. Being out on the practical skills floor where we could closely observe this dog without the housing restriction was much safer. I suggested that the instructors place a muzzle on the dog before they attempted to do any grooming, just in case.

Because we didn’t see that many Bouvier’s at the Paragon Training Center, it was assigned to Jennifer, one of our most advanced students. At that time, Jennifer had shown Giant Schnauzers and had advanced one of them through the highest levels of French Ring Sport. She was not intimidated by the size or the potential attitude of this dog.

Not 15 minutes into the class, someone raced into my office and told me I’d better get out to the practical skills floor – fast. Someone had been hurt. Seconds later, I was on the practical skills floor. The first thing I noticed was how empty and quiet the room was.

The second was the blood trail.

It led diagonally across the space towards the bathing room. There was a crowd of people around a small prep sink. One person in particular was obviously in great distress – Jennifer.

Our general manager was holding her hand under cold water and asking her series of questions. One of the questions still haunts me today…

“Can you feel your fingers?”

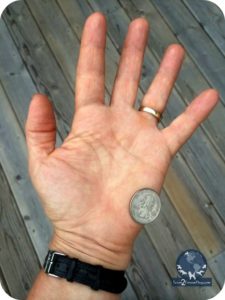
I got a glimpse of Jennifer’s hand. Place a quarter on the meatiest part of the heel of your hand. Now imagine that area… gone.

handrThe Bouvier had done exactly what I had feared. The instructor and Jennifer had done what I had requested. They had muzzled the dog before team-lifting it onto the table. That’s when it struck. Unbelievably, it bit Jennifer through a muzzle. It was a nylon muzzle that was open at the end of the mouth so the dog could breathe freely. This type of muzzle can be effective as long as it fits snugly. In this case, they had selected a muzzle that was slightly too large. Even though the dog was muzzled, it could still open its mouth just enough to grab the heel of her hand to chew through her flesh…

…and it did.

We raced Jennifer to the medical treatment center. The local med-station felt that they could handle this wound despite the fact that she had lost sensation in her little finger – or maybe the pain was so great – she couldn’t be sure. They stitched her up, bandaged her, pumped her up with antibiotics, and sent her home.

The following day she was she was back at the doctor, but this time to see a hand specialist. They ripped out all the stitches from the night before and started over. Jennifer was looking at a long recovery period.

Jennifer had such a great attitude towards this whole thing – it was hard to believe. Even though she missed the last three days of class, she still graduated with very high grades. However, finding a grooming job was certainly out of the question for her – at least for a while. We ended up hiring Jennifer for our front office at Paragon while she healed.

As Jennifer’s medical bills mounted, we collected everything and turned them into our insurance company.  However, our carrier did not feel the situation warranted a payout on their behalf.

What??

That’s when we learned that in the state of Michigan a pet owner is ultimately responsible for their dog – even if they are not with it. The insurance company went after the pet owner. They were able to collect from their homeowner’s policy. That was news to me and served as a lesson to all of us.

As the story unfolded, we got more information that was unnerving. My initial gut reaction was well-founded. This was the third reported bite case for this dog – and the third owner. Of course the owner never bothered to share that information with us upon check-in. The dog was destroyed after this third incident with Jennifer.

We learned 5 lessons through this unfortunate event.

  1. Trust your gut. Never do a dog that you feel is dangerous to you, your team, or itself.
  2. Use muzzles when necessary and make sure they fit properly (we changed to full basket-style muzzles).
  3. The pet owner is ultimately responsible for their pet regardless of whether they are with them or not.
  4. In the state of Michigan, if the dog creates an insurance situation, the pet owner’s homeowner’s policy will be responsible for paying any damages or claims.
  5. Love and passion for dogs can still shine through despite severe injuries inflicted by them and long recovery periods.

Jennifer has been grooming with us for over 18 years. I’m fortunate that she is still on my team. She has become one of our most talented and productive pet stylists. She grooms every day at our luxury kennel, Whiskers Resort & Pet Spa. Plus, Jennifer has been one of our talented Training Partners on Learn2GroomDogs.com since the beginning.

We just filmed her for Learn2GroomDogs.com. We had been looking for someone to do a traditional style grooming lesson on a Bouvier des Flandres for a very long time. Never in my wildest dreams did I ever expect Jennifer Hecker to step up to the grooming table for this lesson! I’m so glad she did. Her love and compassion for all dogs is clearly evident – even for the Bouvier des Flandres.


Happy trimming,

Melissa


blog-banner


How to Make a Dog Look Like a Puppy Again

Women have known this for years – a great haircut can take years off their age. Did you know it works for dogs too?

lhasaX-headstudy-w-logo

Grooming by L2GD Training Partner, Suesan Watson

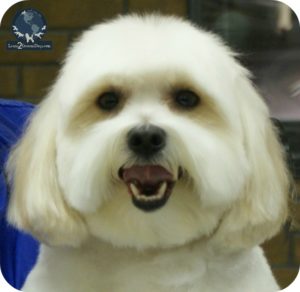
This styling technique works for almost any drop coated breed with ears that lay close to the cheeks such as: Shih Tzus, Lhasas, and Malteses. Typically, you use the ear style on dogs that get full body haircuts. This technique works or any purebred or mixed breed whose coat has a tendency to be straight. The common denominator for this trimming application is that the coat grows directly towards the ground as it grows. The size of the dog does not matter.

Heck, now that I think about it – it will work on many, many breed types. The most common coat types we see this ear style on are the drop coated breeds – but that they are not the only candidates. Any breed of dog that has fully feathered ears that drop close to the sides of their jowls will work. Straight coats. Wavy coats. Curly coats. It does not matter. It’s even super cute on some pricked eared dogs, too!

Grooming by L2GD Training Partner, Suesan Watson

Grooming by L2GD Training Partner, Suesan Watson

The best part? The effect is instant. The years melt away. The pet walks into the salon looking its age and walks out appearing so much younger. It looks like a pup again!

What’s the secret? Short ears. Layered short ears.

As a bonus, this ear style has other benefits too:

  • It’s easy for the owner to care for
  • The ears will not drag through the food or water dish
  • They will not become matted or tangled

Here’s how you get the look.

  1. Attach a long guard comb over your clipper blade. Choose the length that will best suits the size of dog you are working on. Smaller dogs will be look puppyish with shorter guard combs. Large Doodle dogs will look better with a longer guard comb.
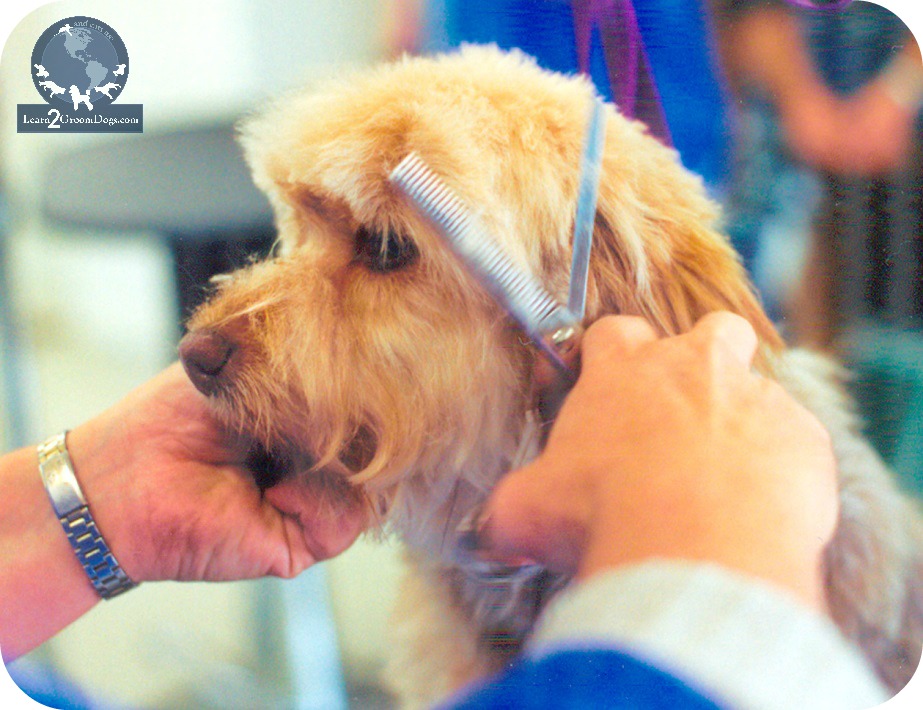
  2. Hold the ear leather flat across your hand to brace the ear. Gently guide the clipper over the outside of the ear. Imagine the ear leather like a leaf. A leaf has veins running through it. Run your clipper in the same direction as the veins in the leaf.
  3. Keep working over the top of the ear leather until the coat is consistently the same length. It does not have to be perfect – just close.
  4. With scissors or blenders, edge the ear for a neat appearance. Hold your fingers against the ear leather to ensure you do not cut the skin.
  5. Double check for evenness on the outside of the ear by gently back-combing the fur. If there are uneven spots, blend them in with thinning shears for a very natural look.

If you want to give a pet a youthful look – try this ear style. You can instantly make a dog look like a puppy again.

Happy Trimming!

Melissa

P.S. If you’d like to catch a free demonstration of this ear style, click here.  Suesan Watson is an award winning pet stylist and a Learn2GroomDogs.com Training Partner. This is an excerpt from her video lesson called: Using Style to Bring Out the Charm in a Lhasa/Poo.

blog-banner


error: Content is protected !!