
Discovering the Meaning Behind the Job Titles
Groomer.
I have always struggled with this word. Stop and think about it. Is it really the best definition for the wide variety of skills necessary to do our job? Personally, I think the term “Groomer” is too broad a term to use within our field.
 Think about how the medical profession is organized… when you need a routine annual medical exam, do you book an appointment with a Podiatrist? No. You’d get an appointment at your regular clinic, where they deal primarily with routine and preventive health care. Depending on your condition, you might get an appointment with a nurse practitioner who is qualified to treat a certain spectrum of illnesses. For situations requiring more formal training and experience, you’d see your family doctor. If a health disorder required attention from an expert in a particular field of study, you would seek the help of a specialist.
Another point to ponder… how do you think their pay scale is structured? I would bet the medical specialist takes home a much larger paycheck than the nurse practitioner or even the family physician.
Let’s flip this over to what we do. Bottom line – we’re pet specialists with three distinct skill levels:
- Bather, Assistant, or Bathing Technician
- Groomer, Pet Groomer, or Grooming Technician
- Stylist or Pet Stylist
Here are my definitions for each of those areas.
1. Bather, Assistant, or Bathing Technician
These folks have a basic knowledge base of core grooming skills. In some cases, the Bather’s duties may cross over into other job descriptions. In many smaller salons, the Bather might act more as a personal assistant to the Groomer or Stylist. A Bather’s duties might include any task that could be easily delegated by the Groomer or Stylist so they can focus on getting dogs completed in a timely manner.
 Bathers, Assistants, and Bathing Technicians should have a basic understanding of:<
- Selection and Care of Equipment
- Canine Psychology and Temperament
- Safety and Sanitation
- Anatomy
- Pet Handling
- Breed Identification
- Skin and Coat Conditions
- First Aid and CPR
- Parasites and Their Control
- Diseases and Preventive Vaccination
- Nutrition
- Common Illnesses and Skin Disorders
- Common Grooming Products
- Equipment Handling
- Coat Pre-Assessment and Pre-Work
- Bathing and Drying Skills
- Brushing and Combing Skills
- Mat Anatomy and Safe Removal
- Equipment Handling
- Nail and Feet Trimming
- Ear Cleansing
- Tooth Care
- Anal Gland Expression (Optional)
Although the Bather role in a busy salon is typically considered an entry level position, in reality it’s one of the most important roles of a successful salon. If a dog is not washed perfectly and dried properly, quality work can never be achieved. No matter how talented the Groomer or Stylist is when it comes to trimming and styling pets, they will never be able to do a good job on a dirty or incorrectly dried pet. Period.
Earning Potential – Entry Level
2. Groomer, Pet Groomer, or Grooming Technician
A Groomer deals with basic grooming needs. They can get dogs clean, dried properly, and thoroughly brushed out. They can do everything the Bather does but they kick it up a few notches. Groomers can complete challenging bath and brush pets with ease. Plus, they can trim pets safely and efficiently with clippers. Groomers are comfortable with a variety of clippers and blade choices. They can handle a wide range of coat types on both bath and brush style pets as well as simple, low maintenance haircuts. They have basic knowledge of how to work with scissors and blenders, getting adequate results for non-discriminating clients.
Pet Groomers should have advanced knowledge and understanding of the previously mentioned areas and be able to work with greater speed and efficiency without sacrificing quality and safety.
The Groomer in almost any salon is the workhorse. They focus on non-nonsense, low maintenance trim styles. Their concentration is on getting the dog thoroughly brushed out, mat free, and super tidy. Trim work focuses more on the neat and clean aspect of grooming than creating highly stylized haircuts. Advanced training and continued education in this area can vastly improve grooming speed, quality, and enjoyment of the job.
Earning Potential – Mid-Range Level
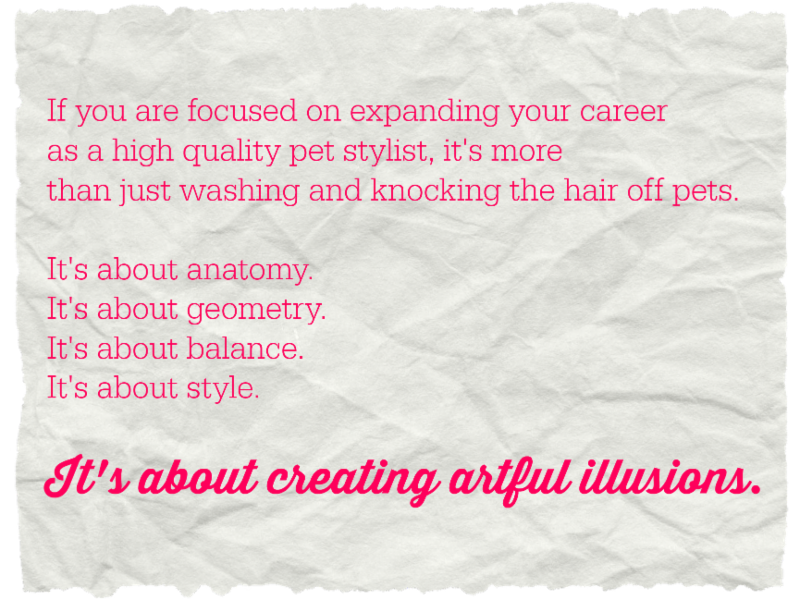
3. Stylist or Pet Stylist

A Pet Stylist molds and shapes the coat in a manner that accentuates the features of the pet. They have a firm understanding of anatomy, breed profiles, as well as structure and movement. They have a firm comprehension of technical skills. An accomplished Pet Stylist can apply those skills in an artistic manner. Their personal tools are of the highest caliber, allowing them to create remarkable trims in a very short amount of time. A seasoned Stylist will often also specialize in particular breeds, grooming techniques, or personality types.
Pet Stylists should have expert knowledge and understanding of the previously mentioned areas, be able to work with greater speed and efficiency without sacrificing quality and safety, and have expert control of clippers, shears, combs, brushes, blades, and stripping knives.
Serious Pet Stylists are generally highly motivated. They advance their careers through continued education. It’s common for an aspiring Pet Stylist to seek out many forms of advanced learning. Many of them turn it into a personal goal or an enjoyable outlet. Conformation dog shows, grooming trade shows and competitions, certification testing, books and magazines, videos, clinics, workshops, private coaching and training, and canine trials are just a few areas the motivated Stylist can use to ramp up skill levels.
Earning Potential – Highest Level
The term “Groomer” is just not descriptive enough. It just doesn’t cover it all – especially if you wear multiple hats in your salon like Receptionist, Accountant, and Cleaning Crew. When a business starts to grow, layers of expertise will develop within your team.
Just like in the medical profession, the more you learn, the more you earn. The stronger your knowledge base and the more proficient you are, the more money you’re going to make. And knowledge has a wonderful side effect – confidence. Why not take steps toward building your skills and confidence every day?
Using a generic term like “Groomer” just doesn’t work for me. I bet it doesn’t work for you, either. Jump over to the Learn2GroomDogs Facebook page and tell us what woks best for you!
Happy Trimming!
~ Melissa

 That night she retired to her hotel room. As soon as she got there she hooked onto the Wi-Fi and brought up Learn2GroomDogs.com.


 “I have a (insert breed here). Do you know how to groom them correctly?”
 The Internet is an invaluable research tool. Use it wisely. Most breeds will have a parent club that hosts an official site for the breed. Spend a few minutes reviewing images of top winning dogs in their galleries. With a little luck, you may even find grooming directions or links to grooming directions from dedicated breeders.
 As pet groomers and stylists, we get to see plenty of dogs. It’s rare and exciting to get a breed you are not familiar with. Most of us pros enjoy the challenge of learning about a new breed. Figuring out what we will need to do to make the dog look like it should – or could – look like if the owners allow you to groom it correctly.


 We had many more aha! moments while we watched Pina work her magic on these six lovely dogs. We will be releasing Pina’s latest L2GD video lessons all through 2016.
 Generally speaking, the faster you can get a dog to the tub, the faster the trim will go. Dogs with six weeks or less coat growth can normally go straight to the tub. With today’s products, shampoos, conditioners, and high velocity dryers, much of the pre-work can be eliminated. Dematting or pre-trimming is a waste of time with six weeks or less trims.
 But how do you know exactly what to reach for when a unique situation presents itself? Sometimes you don’t always know what you need. Or maybe what you need is a specialty item and you don’t have it at your fingertips. What do you do then?
 loving homes. The family supplying the dogs for the Learn2Groom film shoot had adopted three of the puppies. Many of the rescued pets were Shih Tzus, Pomeranians, Malteses, or mixes of the three breeds.
 Sue suggested that we do a couple more applications in the future to really lighten the top of his head.
 1. Step into the session with a very open mind.
 As your knowledge and skills advance, the clinics won’t be as daunting. They will become a great way for you to fine-tune your skills. You can begin to network and exchange thoughts with others in the industry who can provide insight when you need it. Plus, these types of functions are a great way to invigorate your career.


 When I was a contest groomer, I always did my Poodle cuffs by hand. I would brush the coat down then give it a quick fluff with my comb. Once it was fluffed, I’d glide a long straight shear in and set the lower edge. Then I’d re-fluff and grab my long curved shears to round and bevel the edges. It was time-consuming.
 Once my cuff was set, I would neaten and finish the entire leg with shears, smoothing out my guard comb work.
 Stop and hold the foot with your fingers coming to rest right at the clipped cuff line. While maintaining your hold on the foot, gently trim at right angles around the cuff with the #30 or #40 blade. Simply touch the coat at the edge line you want to set.